

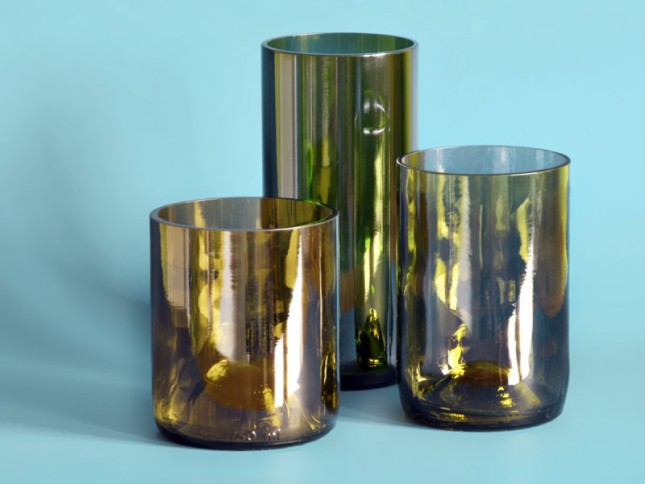
This project from Brit+Co. is more for the advanced do-it-yourselfer, but the extra bit of time and effort is worth it! You’re upcycling all those old wine bottles so you’re “going green”, you’ll pick up a couple of new skills and you’ll end up with a very cool final product.
Here’s how:
What you’ll need:
- Wine bottles
- Bottle cutter (available at your local hardware store) OR String and Nail polish remover
- Oil or grease
- Rags or towels
- Large pot
- Potholder
- Candle
- 2-3 sheets of dry or wet sandpaper ranging from medium (~150) to fine (~300-400)
- Safety mask or goggles
Instructions:
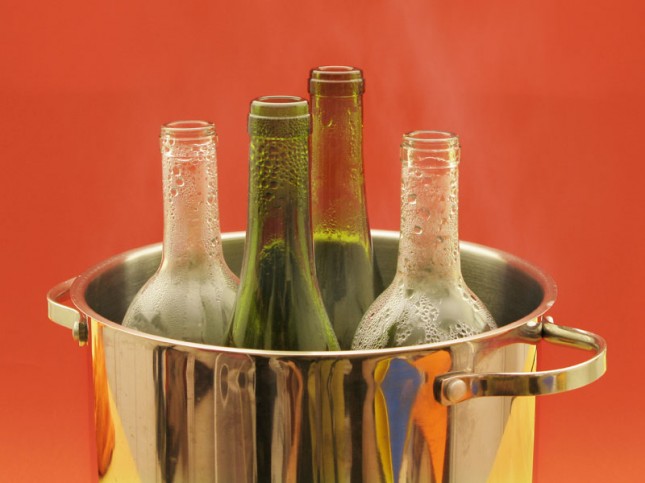
1. Remove the labels from the wine bottles if you haven’t already done so. An easy way to do it is by filling the bottles with water and gently boiling them in a large stock pot for about one minute. Then, hold the neck with a potholder and slowly peel off the label.

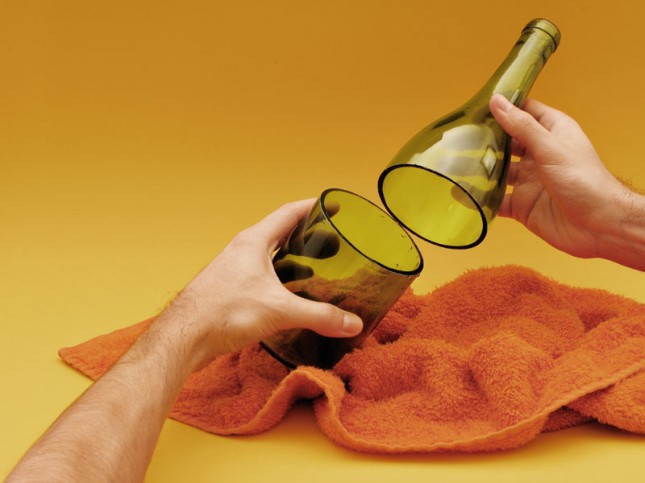
2. Now cut the bottle. First, apply oil or grease around the area where you want to cut the bottle. Also, prepare your sink or a large pot and fill it with iced water.
You can use a professional bottle cutter, which doesn’t actually cut it but makes a score line. Hold the bottle steady and apply firm and consistent pressure. You’re going for an even score, not necessarily a deep one.
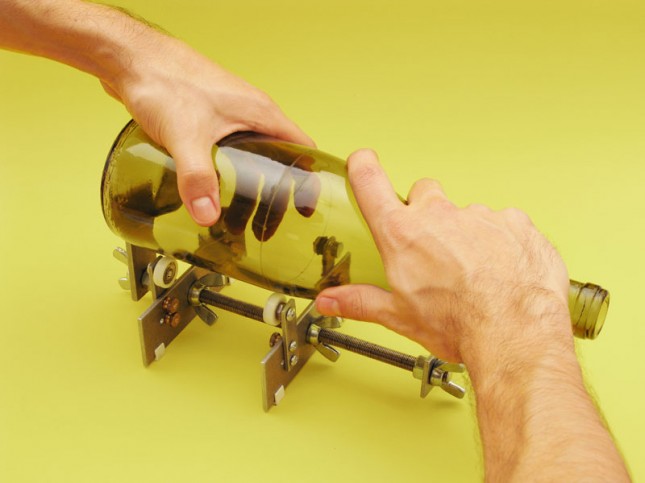
Heat the score line by holding the bottle over a candle and spinning it. Make sure the flame doesn’t actually touch the glass.

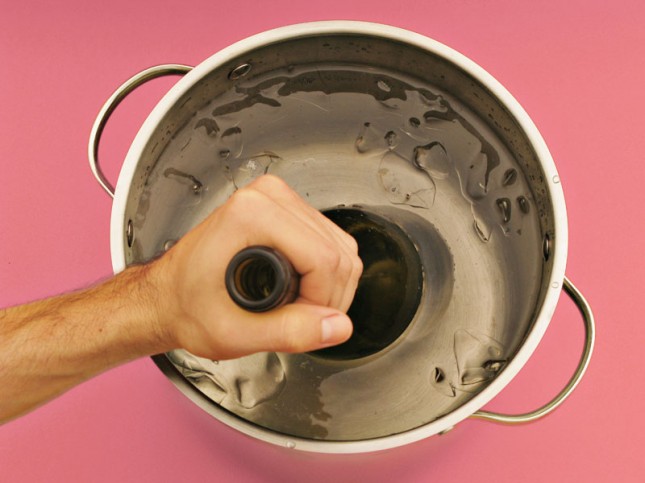
When the score line is hot, immediately put the bottle in the cold water. You’ll hear a pop, which means the bottle has broken along the score line.
Alternatively, you can use string and nail polish remover to create a score line and cut the bottle. Here’s how:
Gently lift the bottle out of the cold water to check that it has fully cracked. You may have to wiggle the two halves apart if they haven’t completely separated.
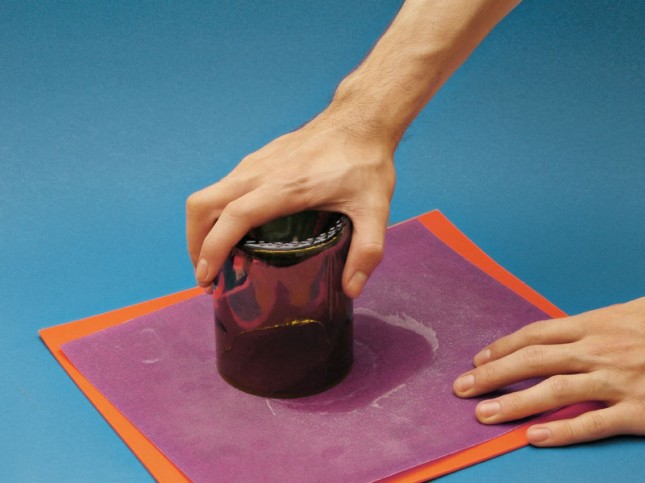
3. Now, smooth out the edges with sandpaper. Use goggles to protect your eyes. Start with medium-grit sandpaper and place it on a flat surface. Hold the tumbler upside down on the sandpaper and rub it in a circular motion, applying even pressure. Periodically use a wet rag to wipe the edge clean as you work.
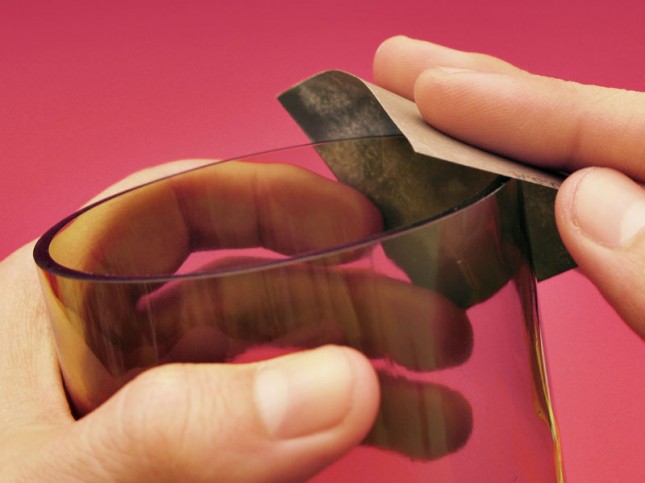
Switch to fine- or extra fine-grit sandpaper when you’re satisfied with the edge to buff it further. Continue to use the wet rag to clean it.
Bevel the edge slightly by sanding a bit on the inside and outside of the rim.
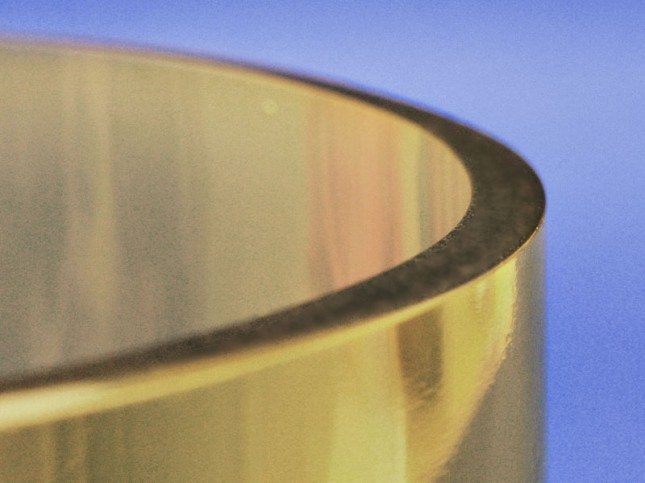
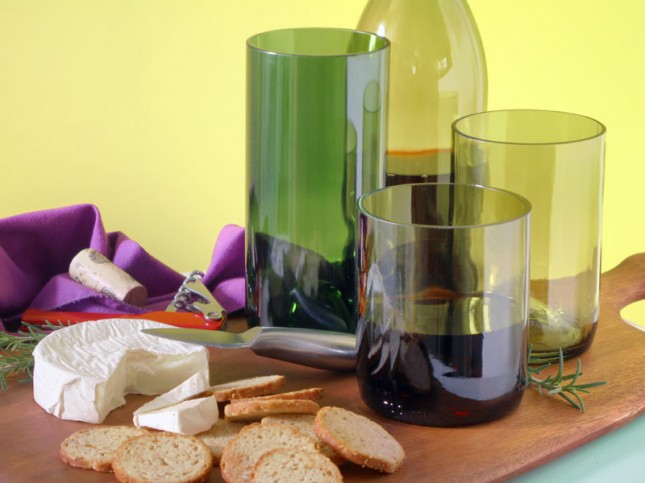
And voila, you’re done! Unless you want to decorate it further…
WE SAID THIS: Stay tuned for tips on how to use these tumblers in creative ways!